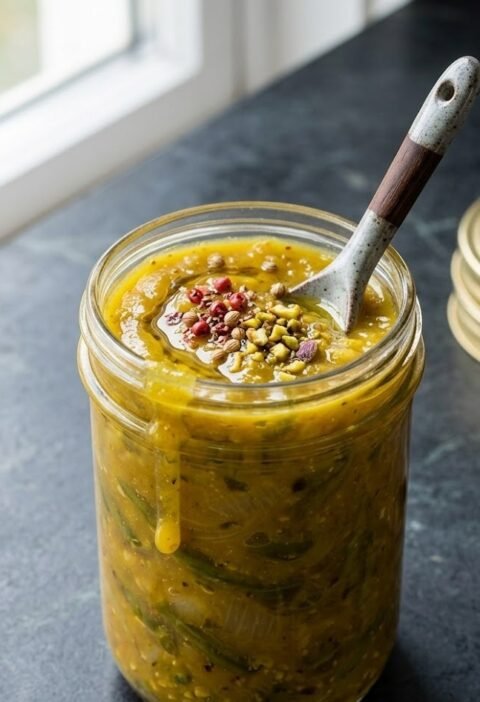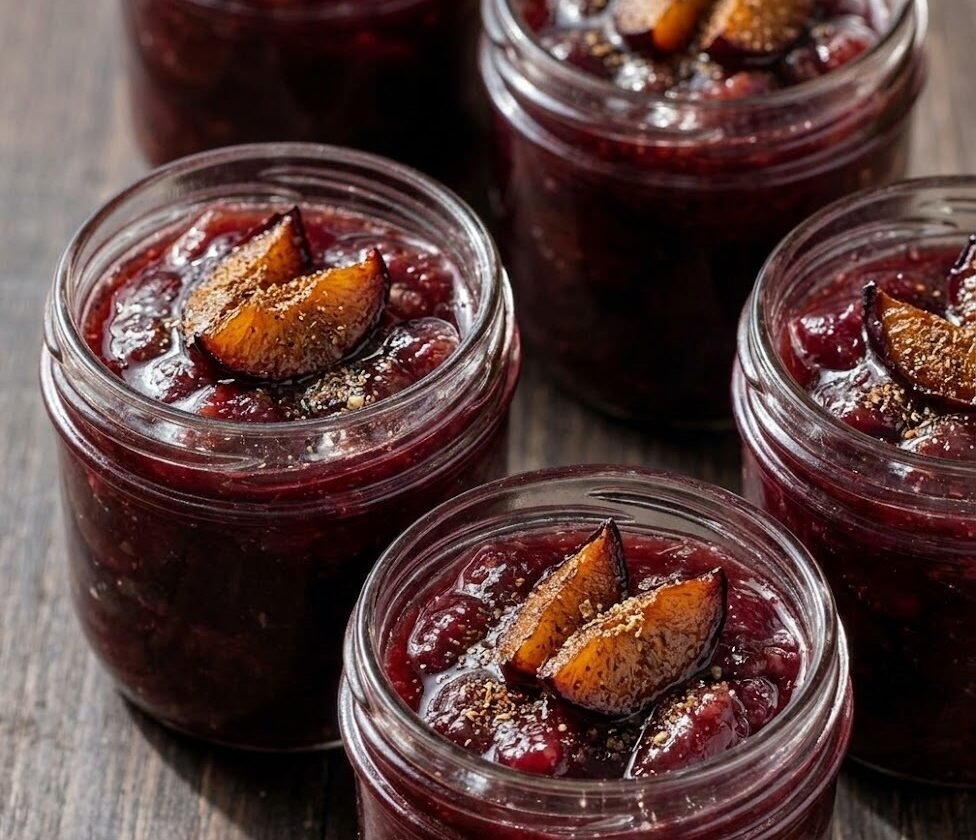
This homemade plum jam is a Mary Berry-inspired classic that tastes like late summer in a jar. It’s thick, glossy, and gently tangy, with a deep plum flavour and that proper “set” you want for toast, scones, and sponge cakes. The method is straightforward and beginner-friendly, as long as you follow a few key cues for setting point. Total time is about 1 hour, including sterilising the jars.
Ingredients
For the plum jam
- 1kg ripe plums, washed, halved and stoned (about 900g prepared weight)
- 100ml water
- 750g granulated sugar
- 2 tbsp lemon juice (about 1 lemon)
Optional (but helpful)
- 1 tsp unsalted butter (reduces foaming)
- Pinch of salt (rounds out sweetness)
Equipment you’ll want
- Large preserving pan or wide heavy-based saucepan
- Wooden spoon
- Sugar thermometer (optional, but very useful)
- Small plate (for the wrinkle test)
- Jam funnel and ladle (recommended)
- 4 small sterilised jam jars with lids (about 300–340g each)
How to Make Mary Berry Plum Jam
- Prepare the oven: Preheat the oven to 140°C or 120°C fan. Wash your jars in hot soapy water, rinse well, then place them upside down on a baking tray in the oven for 20 minutes to sterilise. Keep the lids hot in a pan of simmering water, then drain and leave to dry.
- Chill a plate for testing: Put a small plate in the freezer now. You’ll use it later for the wrinkle test, which is the easiest way to check the jam has set.
- Soften the fruit: Add the plums and 100ml water to a large preserving pan. Bring to a gentle simmer and cook for 10–15 minutes, stirring now and then, until the plums are very soft and juicy. If you like a smoother jam, mash the fruit a little with the spoon.
- Dissolve the sugar: Add the sugar and lemon juice (plus a pinch of salt, if using). Turn the heat low and stir patiently until every bit of sugar has dissolved. Run the spoon along the bottom of the pan and check there’s no grit left. This step matters for a clear, non-grainy jam.
- Boil to setting point: Turn the heat up and bring the jam to a full rolling boil. Boil for 8–12 minutes, stirring occasionally to prevent sticking. If you have a thermometer, aim for 105°C. If not, start testing after 8 minutes.
- Test for set (wrinkle test): Spoon a little jam onto your chilled plate and leave it for 30 seconds. Push it gently with your finger. If it wrinkles and doesn’t flood back, it’s ready. If it’s still runny, boil for another 2 minutes and test again.
- Skim and settle: Take the pan off the heat. Stir in 1 tsp butter if you’d like to reduce foam, then skim off any remaining froth. Let the jam sit for 5 minutes so the fruit pieces suspend evenly, instead of floating to the top of the jar.
- Pot the jam: Carefully ladle the hot jam into hot sterilised jars (a jam funnel helps). Fill to about 5mm from the top, wipe the rims clean, then seal with the lids while everything is still hot.
- Cool and label: Leave the jars to cool completely, undisturbed. Once cool, label with the date. The jam will continue to thicken as it cools.
Tips
Why is my plum jam runny?
It usually just needs a little longer at a rapid boil. Plums vary in pectin, ripeness, and water content, so setting times can shift. Reboil the jam in a clean pan, bring back to a rolling boil, and test again using the chilled plate (or heat to 105°C).
How do I stop the jam from burning on the bottom?
Use a wide, heavy-based pan and stir more frequently once it’s boiling. If the pan is narrow and deep, the jam can catch before it reaches setting point.
How do I reduce foam on top?
Skim the foam right at the end, and consider adding 1 tsp butter off the heat. Also, avoid over-stirring while it’s at a furious boil, which can whip in extra bubbles.
How do I get a thicker, “proper” set for cakes and thumbprint biscuits?
Use the thermometer target (105°C) and let the jars cool for a full 24 hours before judging the final texture. If you prefer a firmer set, boil 1–2 minutes longer, but keep an eye on it so it doesn’t turn too stiff.
Serving Suggestions
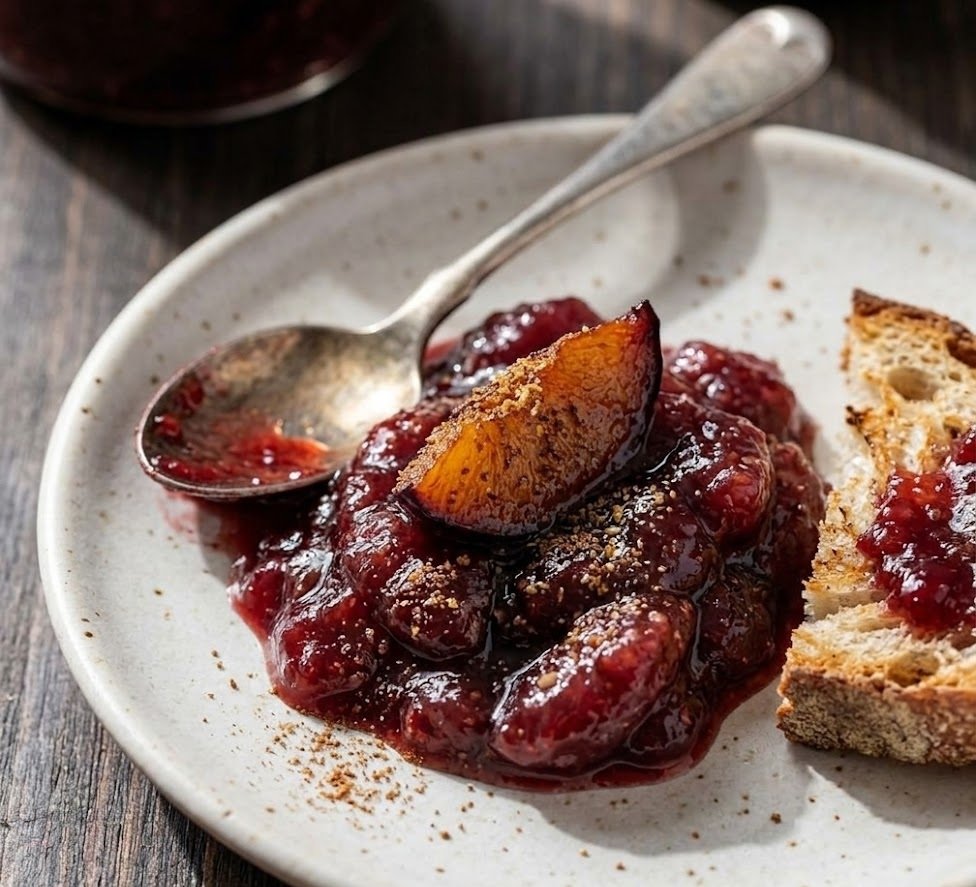
- Spread on hot buttered toast or crumpets
- Serve with scones, clotted cream, and tea
- Use as a Victoria sponge or jam tart filling
- Spoon into yoghurt or porridge
- Pair with cheese, especially cheddar, brie, or blue cheese
Storage
Room temperature
Store sealed jars in a cool, dark cupboard for up to 12 months. Once opened, move the jar to the fridge.
Refrigerator
Once opened, keep plum jam in the fridge and use within 4–6 weeks. Always use a clean spoon to avoid introducing mould.
Freezing
You can freeze jam for up to 6 months. Freeze in freezer-safe containers (leave headspace for expansion) and thaw overnight in the fridge. Give it a good stir before using.
Nutrition
- Calories: 50 kcal
- Carbohydrates: 12 g
- Protein: 0 g
- Fat: 0 g
- Saturated fat: 0 g
- Sodium: 1 mg
Nutrition values are estimates and will vary depending on your ingredients and serving size. Calculated per 1 tablespoon (about 20g).
FAQs
Do I need pectin to make plum jam?
Usually not. Plums contain natural pectin, and the lemon juice helps the jam set. If your plums are very ripe and juicy, you may need a slightly longer boil to reach setting point, but you don’t typically need added pectin.
Can I use frozen plums?
Yes. Thaw the plums first and include any juices in the pan. Frozen fruit can be a bit wetter, so expect the boil-to-set stage to take a few minutes longer.
How do I know when plum jam has reached setting point?
The most reliable ways are a thermometer (105°C) or the chilled plate wrinkle test. If the jam wrinkles when you push it after 30 seconds on a cold plate, it’s ready.
Can I reduce the sugar in this recipe?
For a classic jam set and proper shelf life, keep close to the sugar amount listed. Reducing sugar can prevent the jam from setting and shortens how long it keeps. If you want a lower-sugar preserve, it’s best to use a dedicated low-sugar pectin and follow its ratios.
Why are the fruit pieces floating at the top of my jars?
That usually happens if the jam is potted straight away while it’s still very hot and thin. Let the jam stand for 5 minutes after boiling (before potting) so the fruit distributes more evenly.
Mary Berry Plum Jam Recipe
Course: CondimentCuisine: BritishDifficulty: Easy4
jars15
minutes25
minutes60
minutes50
kcal40
minutesA Mary Berry-inspired plum jam that’s rich, glossy, and beautifully tangy. Made with fresh plums, sugar, and lemon for a dependable set and a classic British preserve flavour.
Ingredients
1kg ripe plums, washed, halved and stoned (about 900g prepared weight)
750g granulated sugar
2 tbsp lemon juice (about 1 lemon)
100ml water
1 tsp unsalted butter (optional, to reduce foam)
Pinch of salt (optional, for balance)
Directions
- Sterilise 4 small jam jars and lids. Heat oven to 140°C (120°C fan), place clean jars on a tray for 20 minutes. Keep lids hot in simmering water, then dry.
- Put plums and water into a large preserving pan. Simmer 10–15 minutes until the fruit is very soft.
- Add sugar and lemon juice. Stir over low heat until the sugar fully dissolves (no graininess).
- Bring to a rapid boil for 8–12 minutes, stirring occasionally, until setting point (105°C) or the wrinkle test passes.
- Skim any foam, then rest 5 minutes. Ladle into hot jars, seal, cool, and label.
Notes
- For a smoother jam, mash the plums lightly while simmering, or blend briefly before adding sugar.
- Always dissolve the sugar completely before boiling, otherwise the jam can turn grainy.
- If your jam is slightly loose, you can reboil it to setting point the next day.